
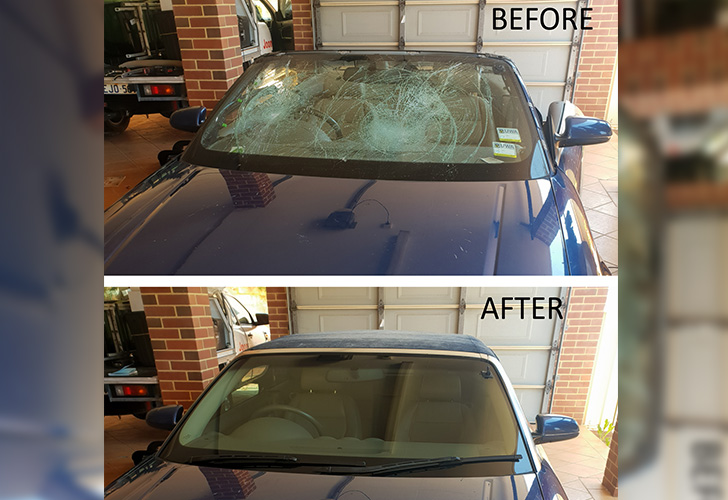
A car is one of the most important investments you and your family will make. At Joondalup Windscreens, we understand the attachment and pride you have in your vehicle.
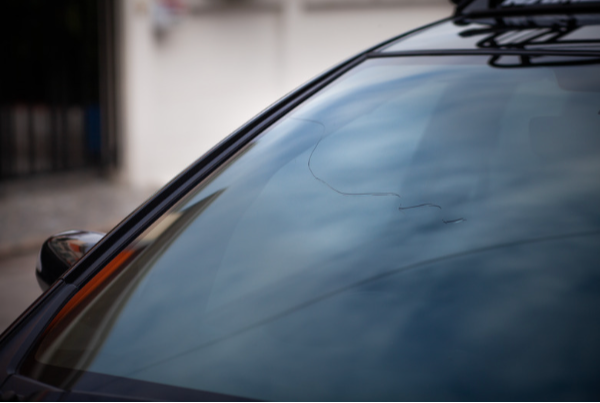
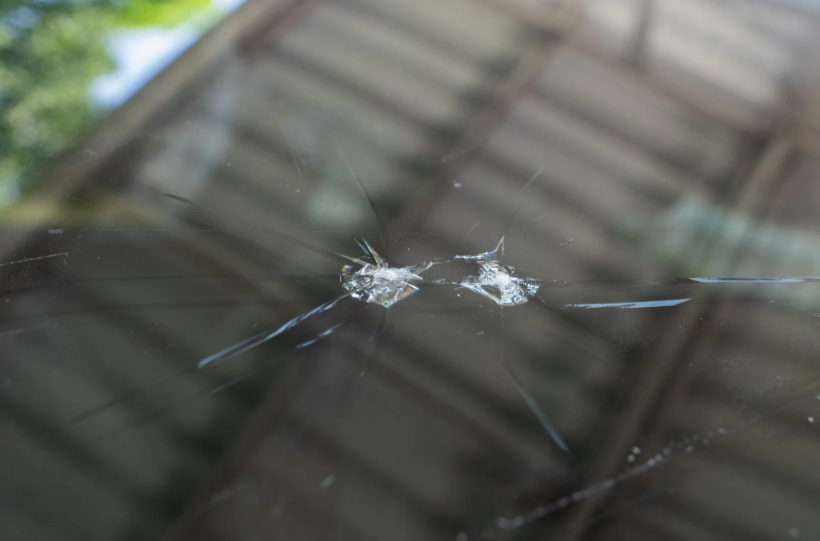
Discovering a crack or chip in your windscreen after an accident can be incredibly stressful. Cracked windscreens are not only an annoying eyesore, but also extremely dangerous as chipped glass compromises the structural integrity of your vehicle, impairs your visibility, and puts you and your family at risk.
The good news is that not all windscreen damage requires complete replacement; many damages can be easily repaired. If you have a cracked windscreen, our advice is to get it repaired immediately.
While it is possible to replace your vehicle’s windscreen on your own, there are necessary precautions to be taken to avoid any risk of damaging it.
You also need access to proper tools, such as BTB or knife, suction pump, primer specific to the urethane, lint-free cloth, a good window cleaner, cold knife and powder free latex gloves and good quality supportive tapes.
At Joondalup Windscreens Perth, we specialise in fixing broken, chipped or cracked windscreens. Serving for half a century, we are one of the most trusted windscreen repair services.
6 Steps to a Seamless Windscreen Replacement
1: Source a Certified Replacement Screen
First, you must purchase a new windscreen from an original parts dealer or a reputable aftermarket distributor whose glass meets the vehicle manufacturer’s safety standards. Never risk your safety with a second-hand or defective windscreen.
2: Prep and Prime the Glass
Thoroughly clean the new windscreen using a high-quality window cleaner. Pay special attention to the outer black ceramic band as it must be completely free of dirt, dust, and grease. Once clean, you will need a suitable primer and a lint-free cloth to install the window screen.
Once the primer has been applied, do not touch the area, as oil or other residues from your hands may prevent the urethane from adhering to the glass tightly.
3: Remove the Old Windscreen
Remove the surrounding mouldings, windscreen wipers, and the bottom plenum chamber. Next, use a cold knife to cut through the existing urethane bonding from the outside. From inside the car, use a BTB or Olfa knife to carefully slice through the lower section of the urethane.
Once the bond has been loosened, use a suction pump to lift out the old windscreen. As the windscreen can be very heavy, this should preferably be a two-person job.
4: Prep the Vehicle Frame
Using the specialised knife, trim back the old urethane left on the car’s body, leaving about 1–2 mm. Clean the frame thoroughly to remove all debris. Apply your primer to the vehicle frame, ensuring any scratches or exposed metal are completely covered. This is vital to prevent rust from developing under the seal.
5: Apply Urethane and Set the New Glass
Using a large caulking gun, apply the certified automotive urethane in a consistent, unbroken bead. The bead must remain at a uniform height with no gaps. Using your suction pumps, carefully lower the new windscreen into the correct position. Once in position, gently press the windscreen down and apply tape to seal it from any unnecessary movement.
6: Secure, Reassemble, and Cure
Apply heavy-duty supportive tape to lock the windscreen in place and prevent any shifting. Re-fit all the necessary mouldings around the plenum chamber and windscreen wipers, and clean the outside of the windscreen thoroughly.
It is important to roll down the car windows slightly before closing the doors. Closing a car door with the windows rolled up creates air pressure that can easily blow a hole through wet, uncured urethane, ruining the seal.
Leave the tape on and allow the urethane to cure for at least an hour (or as specified by the manufacturer) before driving.
Common Windscreen Repair Myths
Myth 1: A small chip out of your direct line of sight isn’t urgent
Just because a chip isn’t blocking your view doesn’t mean it is safe to ignore. Over time, everyday driving conditions can cause the minor chip to spread into a massive crack.
Myth 2: Every little crack means a total replacement
Not true! Small chips and minor cracks can often be seamlessly repaired without removing the glass, saving you time and money.
Myth 3: Windscreen replacement takes days and costs a fortune
Many drivers put off repairs because they fear losing their car for days. In reality, a professional replacement is highly efficient, often getting you back on the road safely in just a few hours.
Myth 4: A DIY repair kit works just as well as a professional windscreen repair
DIY kits lack the professional-grade tools that ensure your windscreen stays structurally sound. Choose professional windscreen repair for long-term safety, reliability, and guaranteed results.
Why Choose Joondalup Windscreens?
Don’t risk a DIY. Joondalup Windscreens offer a seamless, stress-free windscreen repair process. We ensure all your demands and requests are met at an affordable price.
We are the most reliable windscreen replacement service in the north of Perth. We have also won the Top Gun award for providing the best and outstanding achievements in automotive glass.
If you are looking for a professional and reliable windscreen repair in Perth, contact Joondalup Windscreens today!
Read more on our other blogs:
Recent Comments